Showing posts with label muggu with dots. Show all posts

Sunday, September 7, 2014

tippudu muggu


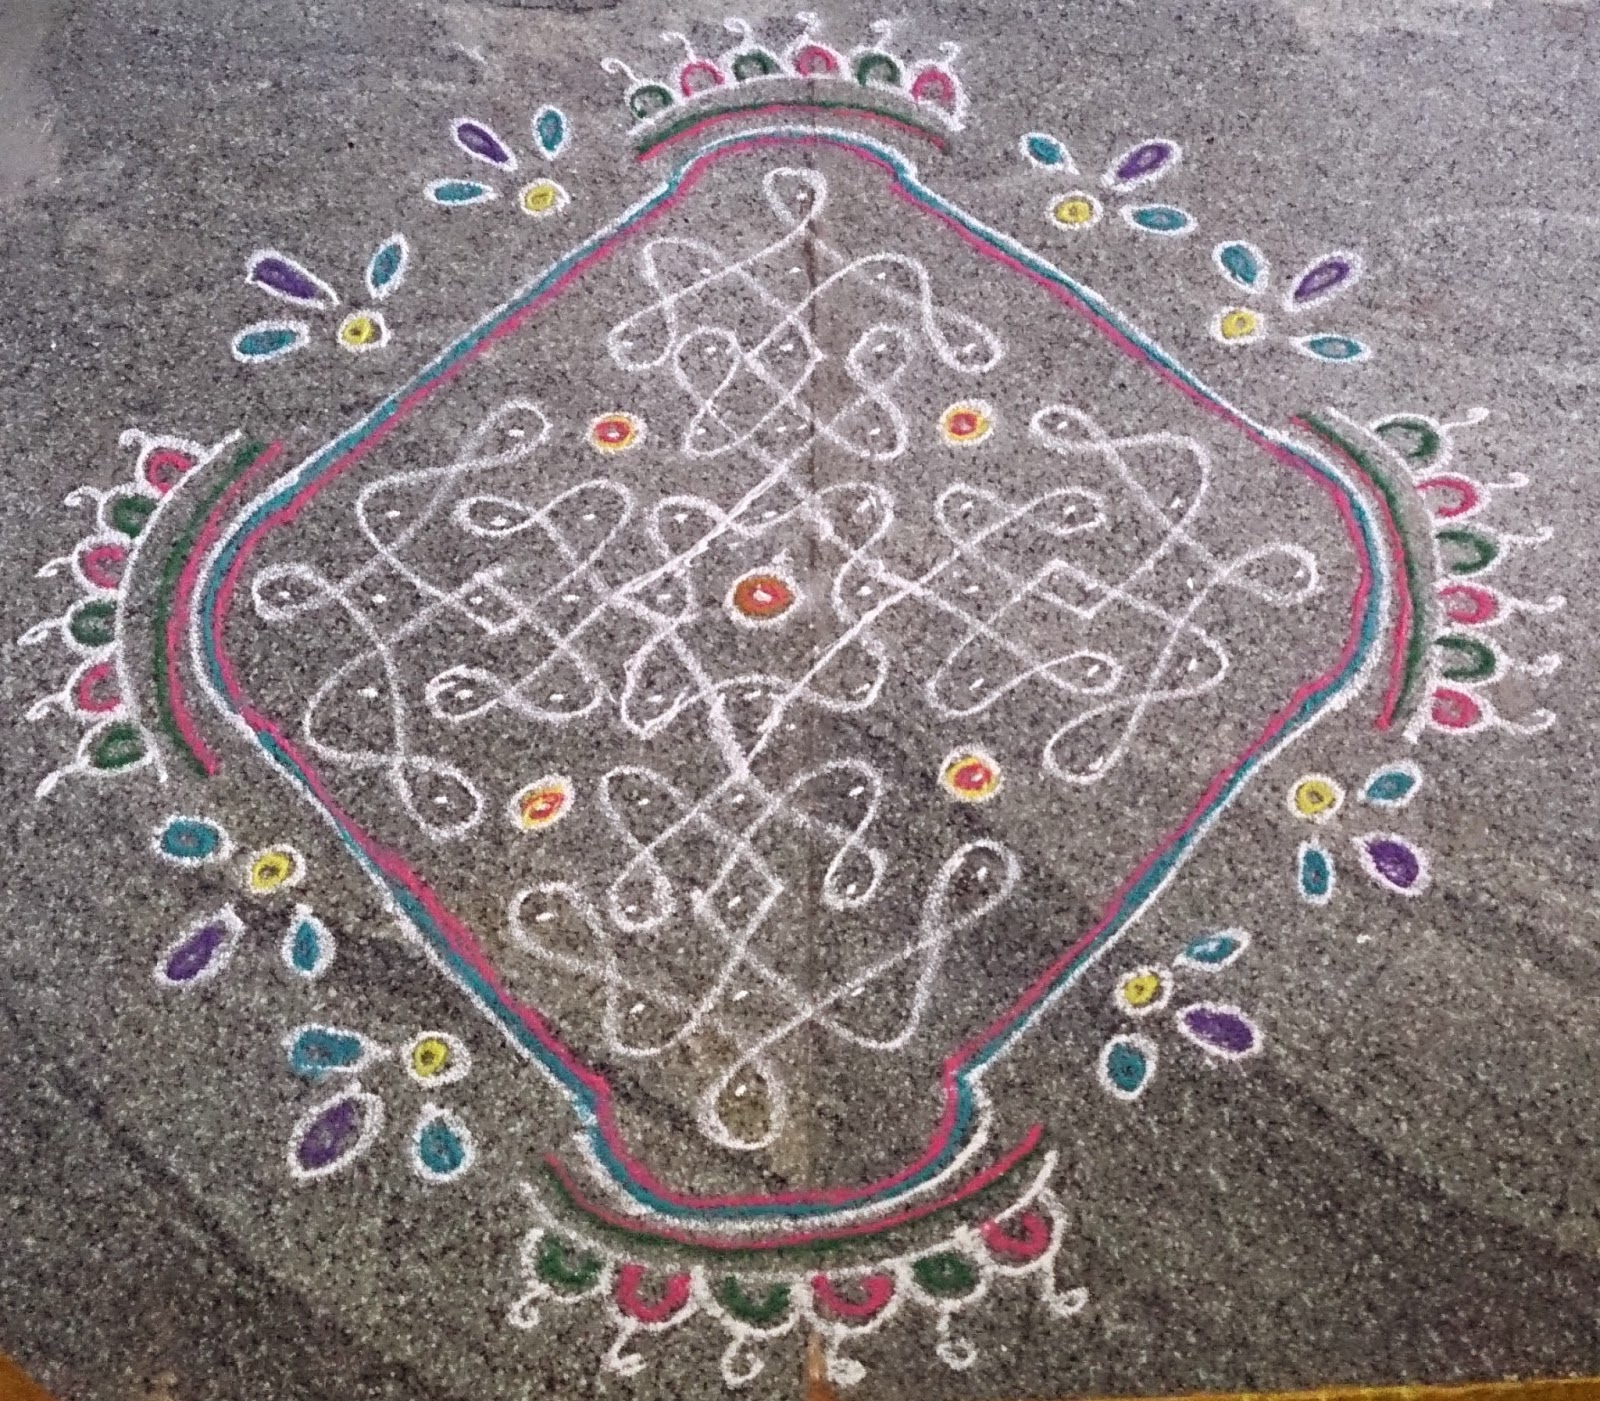
Dots  required for this muggu: 7x1

To make this muggu, first put 7 dots in 1 line, next leave one-one dot from each side and put till 1 dot. For this muggu, I have added free hand design border  and added colours to make this simple muggu colourful.
This is a simple muggu and can be drawn without colours also. This will not take much time if you are not new to tippudu muggulu. 

Friday, August 29, 2014

tippudu muggu

Dots required for this muggu : 11x3
To make this muggu , put 11 dots in 3 lines and next put 5x3x5 lines above and below. 
Draw the melikala muggu by passing through the dots.
This muggu resembles some sort of 4 umbrellas together.

Sunday, August 24, 2014

tippudu muggu

Dots required for this muggu : 9x1
Put 9 dots to 1 dot by leaving one-one dot from each line (niluvu chukkalu) for the middle muggu and draw the melikala muggu by passing through the dots. Here melikala border  is drawn  with 6x4 dots and filled some colours in that.

Wednesday, August 20, 2014

chinna muggu

Dots required for this muggu : 4x4
Put 4 dots in 4 lines. Here crown pattern muggu is drawn in 1st and last 4 dots line. Next 2 cone pattern muggu is drawn using 2nd and 3 line dots which are at outside. In middle one small flower pattern is drawn. Melikala border is drawn at outside.

Friday, August 8, 2014

tippudu muggu

Dots required for this muggu  : 11x1
First put 11 dots and next leave one-one dot from next line on wards and put till 1 dot.

Draw the tippudu muggu by passing through the dots as shown in this post here. In the middle I have drawn a Swastika pattern. But  where as for those dots also melikala muggu can be drawn in the middle. To cover this muggu, instead of border at 4 sides, I have chosen diamond shape pattern  and draw the lines at 4 sides in diamond form. On the outside of that line at 4 sides, I have drawn a crown pattern free hand design and added multi colors in that. On the top of this muggu,  I have drawn a border on Jaju.


tippudu muggu

Dots required for this muggu 5x1. This is very very simple tippudu muggu and very small tippudu muggu. To make this muggu little bigger, I have enclosed that one in a circle form, and at outside drawn a line and oval type pattern and used colors inside.

tippudu muggu

Dots required for this muggu : 8x2x2
Put 8 dots in 2 lines and leave one-one dot from next line on wards and put till 2 dots in the last line. Draw the tippudu muggu by passing through the dots as shown in the post here.  In this tippudu muggu, after drawing the lines it formed a sort of Trishulam pattern at 4 sides. I have enclosed this muggu with step wise border and drawn the border in a symmetry pattern. Finally added colors in the border lines.
     

Sunday, August 3, 2014

tippudu muggu

Dots required for this muggu : 7x4 (in between)
Start wit 7 dots and put dots in between like 1 dot in between of 2 dots in the above line from next line on wards till 4 dots. Draw the tippudu muggu by passing through the dots. For this muggu, I have drawn border like enclosed one and drawn color lines in the outside border. 

Saturday, August 2, 2014

tippudu muggu


To make this muggu, put 5 dots in 2 lines on top, and in middle put 3 dots and put 5 dots again at the bottom.  Pass through the dots as shown here to finish the tippudu muggu.
Border I have drawn like small flower type and on the top I have added pink and yellow color like depam or jyoti pattern.

tippudu muggu

Dots required for this muggu : 11x1
First put 11 dots and next leave one-one dot from next line on wards and put till 1 dot.
Draw the tippudu muggu by passing through the dots as shown in this post here. I have tried a different type of border here and added some colors in that.

Thursday, July 31, 2014

tippudu muggu

Dots required for this muggu : 5x1
First put 5 dots and next leave one-one dot from next line on wards and put till 1 dot.

Draw the tippudu muggu by passing through the dots as shown in this post here.
This is also a very simple and small muggu. I have enclosed this muggu with some box and step pattern and added lines at outside to form a complete round shape.  Any border like melikala or plain border can  also be drawn ti not to close this inside completely.

Sunday, July 27, 2014

butterfly muggu

Dots required for this butterfly muggu is 8x8. Put 8 dots in 8 lines will say like 8 dots 8 times. Here butterfly is drawn at 4 sides. Color for the butterflies has been chosen symmetrically here. In this muggu, I have drawn the color lines in total like in main muggu and in border also.  This butterfly muggu looks more beautiful if it is completely filled with colors also.

flower muggu

Dots required for this muggu : 9x1
First put 9 dots and next leave one-one dot from next line on wards and put till 1 dot and draw as shown in post here if you want to draw the same muggu. Here flowers are drawn in a symmetry form in this muggu. Free hand design muggu border is drawn with colors at outside.

Saturday, July 26, 2014

rose flower muggu

Dots required for this muggu are 6x6. Put 6 dots in 6 lines in straight. Flower pattern is drawn in inside and rose bud pattern is drawn at 4 sides at outside. Border is drawn with wave pattern and addded color lines. 

Saturday, July 19, 2014

tippudu muggu

Dots required for this muggu are 12x2x2. 
First put 12 dots in 2 lines,next leave one-one dot each side from next line on wards and put till 2 dots. Drawn the tippudu muggu by passing through the dots as shown in this post. This muggu is drawn in a symmetrical form if noticed, like 2 lines of 12 dots is shared for up and down side melikala muggu. I have drawn border like closed one and added color lines in the border.  

hamsa muggu


Dots : Fist put 7 dots in 2 lines and next put till 1 dot by leaving each dot at sides

flower muggu


Dots : 9x9

Sunday, July 6, 2014

tippudu muggu


Dots : 8x6x2

put 8 dots in 2 lines and next put 6 dots in 2 lines by leaving each dot at sides and put 2 dots in last row